This is the third part of the series on a tilt adapter for Micro Four Third system. Please read the introduction first, and the lens selection guide.
This article will show you how to build a very simple DIY tilt adapter using a body cap, a lens cap, and some plastic bag.
Make the adapter
You will need the following items:
- A lens (read the lens selection guide, you can find a suitable Olympus OM lens on eBay for 20-30 USD)
- Micro Four Third body cap (<3$ on eBay)
- Lens cap (<2$ on eBay). For Olympus OM lenses, a Four Third cap (not Micro Four Third!) also works (the mount is very similar).
- Opaque plastic bag (thick but flexible plastic is best)
- (Optional) Some black paper
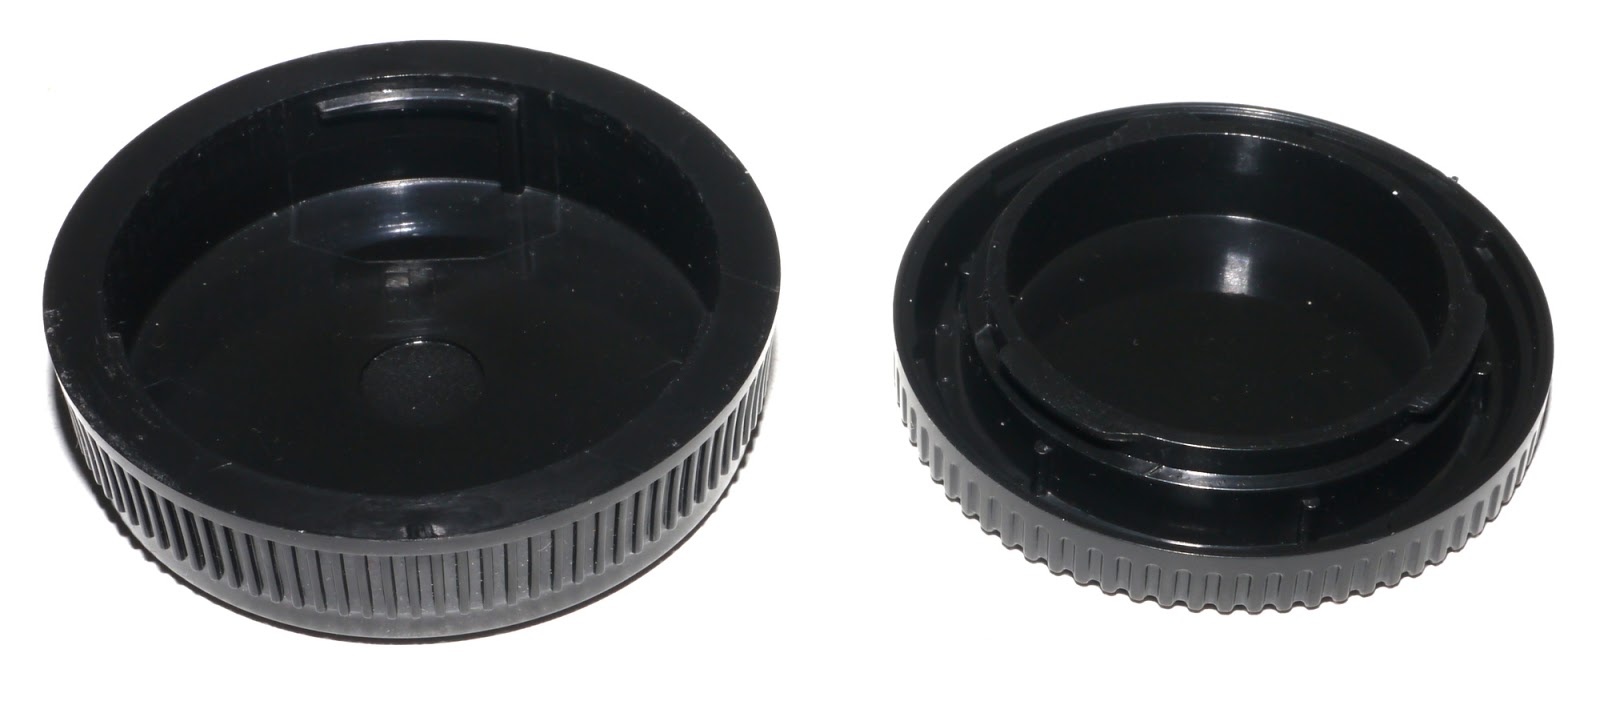
 |
| Left: Olympus OM lens cap. Right: Micro Four Third body cap |
|
|
|
|
Cut a wide hole in the body cap. This is the difficult part, if, like myself, you don't have power tools. I first used a cutter to make a small hole in the caps. Then, I could widen the hole with a handsaw. It would be far easier to do with a drill...
"Chop off" the flat part of the lens cap with a saw, so that you end up with a ring. We do this instead of cutting a hole in order to make the cap a bit thinner, so that you can tilt the lens to a larger angle.
You should get the following:
 |
Left: Olympus OM lens cap. The flat part is cut off with a saw.
Right: Micro Four Third body cap, the hole was (painfully) open with a cutter, then using a saw. |
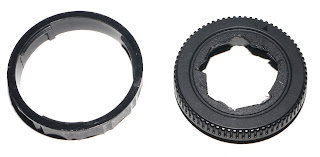 |
| Opposite side. |
Then, cut a piece of the plastic bag, about 20cm long, and 5cm wide. The plastic I use is shiny, so, to avoid unwanted reflections, I glued a piece of black paper to one side of the plastic sheet.
Roll the plastic sheet around the lens cap, fix it as securely as possible using tape, then repeat the operation on the body cap.
 |
| You should get something as "nice looking" as this ,-) You can see the black paper inside the adapter. |
You're done! Congratulations!
Use the adapter
Set the lens focus to infinity, and aperture wide open. Mount it on the adapter, then connect the adapter to the camera.
 |
| Lens and adapter mounted on the camera. |
Be careful of one thing: the lens cap and body cap are not meant to hold the weight of a lens, and do not lock in position. ALWAYS hold both the lens and the camera if you want to avoid broken glass... That also means you cannot change the focus or aperture easily (unless you have a third hand...). This is not a big problem for the focus: you actually adjust it by moving the lens closer or further away from the camera.
Also, Olympus OM lenses always keep the widest aperture unless you activate the lever at the back of the lens. To block the lever, a little piece of paper does the trick. Just make sure it doesn't fall. In practice, I always use the lens at its widest aperture, so I do not need that.
 |
| Block the aperture lever if you want to be able to control the aperture. |
Alright, now you can start playing with it! Tilt the lens around, and observe the effect you get. The issue with this adapter is that you cannot, ever, get the same picture twice, and it is hard to control the tilt angle and orientation. But maybe that's part of the fun...
Another drawback is that you cannot shoot video, since there is no way to fix the lens (but I'm working on it ,-)).
Sample pictures
Unless otherwise mentioned, pictures are taken with the 28mm f/2.8 lens, tilted to about 16°. I also show some shots at 50mm f/1.8. I always stretch the contrast (the camera metering is a bit confused and underexpose shots), and boost the saturation to increase the "toy" effect.
 |
28mm lens, tilt ~16°, f/2.8, 1/2000s, ISO 160. |
 |
| 28mm lens, tilt ~16°, f/2.8, 1/25s, ISO 1600. |
You can find a set a sample pictures
here, or see the slideshow below:


No comments:
Post a Comment